
Cranberry Scones
Enjoy! Labels: she bakes
Monday, November 13, 2006

I love scones, light buttery ones, eaten with more butter or jam, especially marmalade. I first came across them when I was a child reading Enid Blyton's books. Somehow, there were always either scones or macaroons for tea in her stories. As a 7 year old, I hadn't an inkling what they tasted like but I only imagined they were something magical. Food fit for pixies or fairies and kids living in a far-off country called England.
Anyway, I realised I haven't done a photo tutorial in a while so this is a good topic as any for one. Scones are easy to do although they look like you've slaved in the kitchen for hours. It's really quite chic when offered to your guests with a cup of tea or coffee. Arranged nicely over a pretty plate and *snaps finger* instant Delia Smith, just like that.
This recipe is taken from allrecipes. I've adjusted it by adding a little more butter and sugar. Butter to give it a fuller taste and sugar to offset the tartness of the cranberries (the original recipe used currants). I also replaced whole milk with skim milk and paraphrased most of the instructions so that it seems you're in the kitchen with me.
Cranberry Scones
Here's what you need:
1 and 3/4 cups all purpose flour
4 tsp baking powder
100 g butter (prefably unsalted)
100 g white sugar
2/3 cups skim milk
1/2 cup cranberries
1 egg yolk, beaten
Before starting, make sure you've:
1. Preheated the oven to 200 degrees Celsius.
2. Line your baking tray with greaseproof or baking paper.
And moving right along..... 1. Sift flour and baking powder into a mixing bowl.
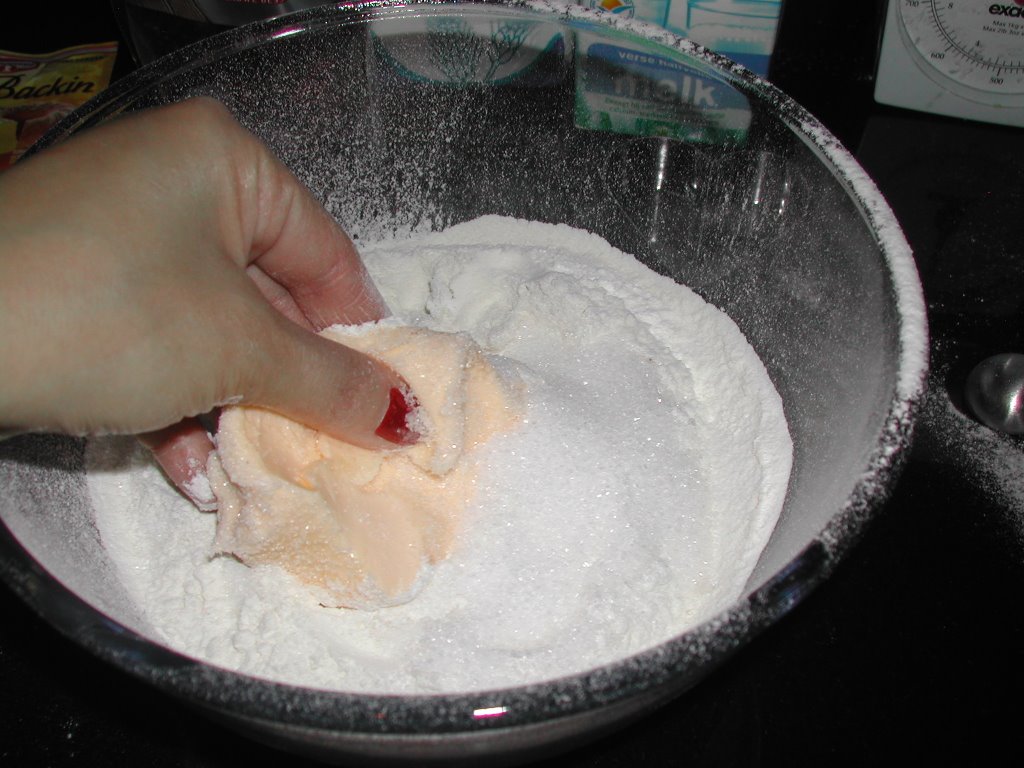 2. Rub butter and sugar into the flour mixture to form a fine crumble. This is a very tactile experience, enjoy it. Feel the ingredients going through your fingers. Lovely!
 3. Now with that done, make a well in the center. Add in milk and cranberries. In this instance, I've thrown in some blueberries and cherries too. You may of course add whatever rocks your boat.
 4. Mix together using a wooden spoon, taking care not to over do it. As soon as it forms a dough, you're good. The original recipe says to use your hands to knead but I don't as the dough is super sticky. Don't worry about the stickiness though, you haven't done anything wrong, it's supposed to be like that. If you have the urge to add more flour for easier handling - kill it.
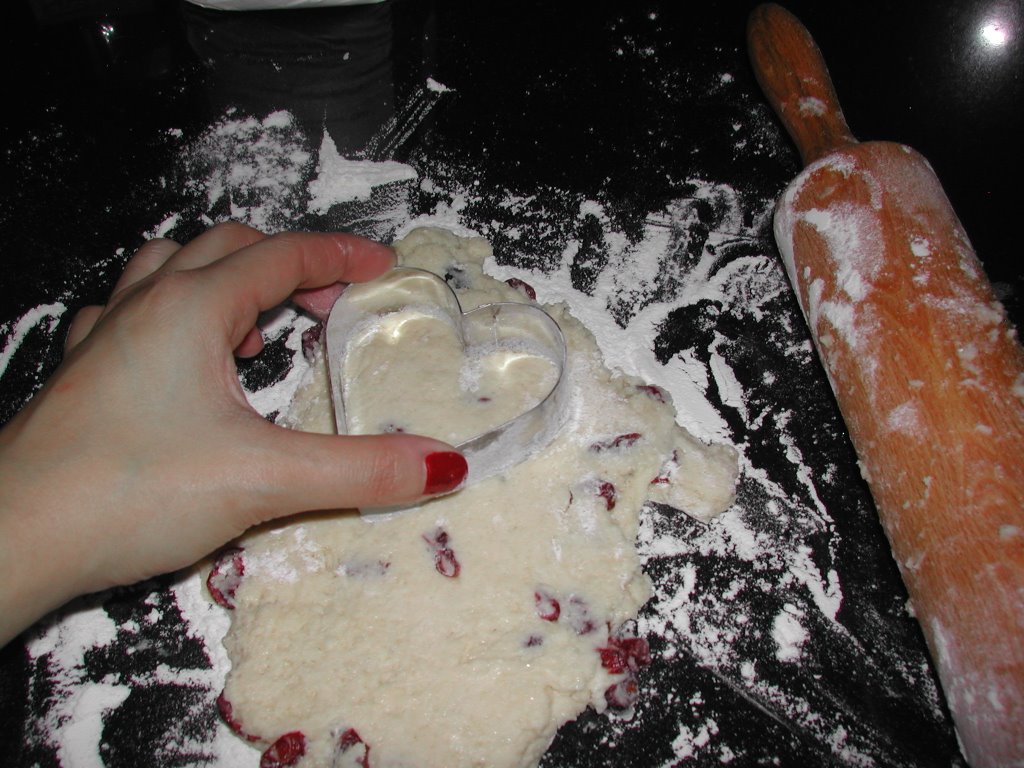 5. Whatever inclinations you might have had for wanting to add extra flour in step 4, do it now on the surface and rolling pin. Be very generous. Then, roll dough out to thickness of 3/4". Using a 2.5" round cookie cutter, stamp out rounds and transfer to lined tray. I'm using a heart shaped one today, just for fun.
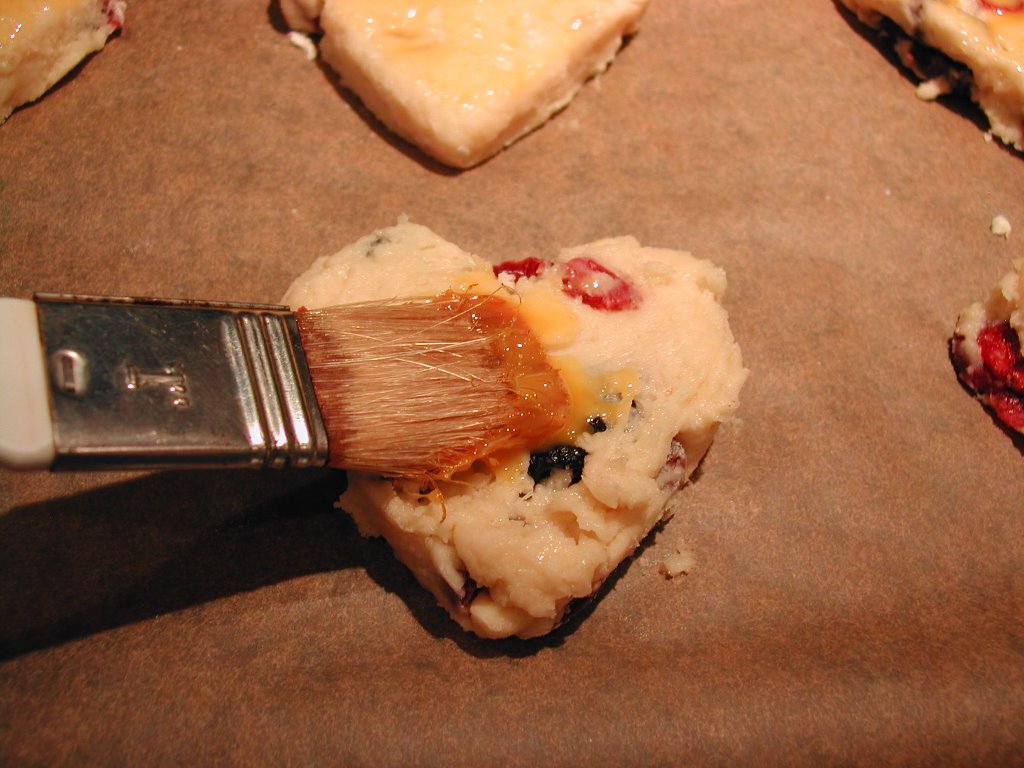 6. Gently brush tops with beaten egg yolk. Now go away and make yourself a drink while you let it stand for 15 minutes.
 7. Pop it into the oven and bake till they've risen and turned a beautiful golden brown. This should take 12-15 minutes. Any longer, you may have cremated them. Remove and cool on racks.
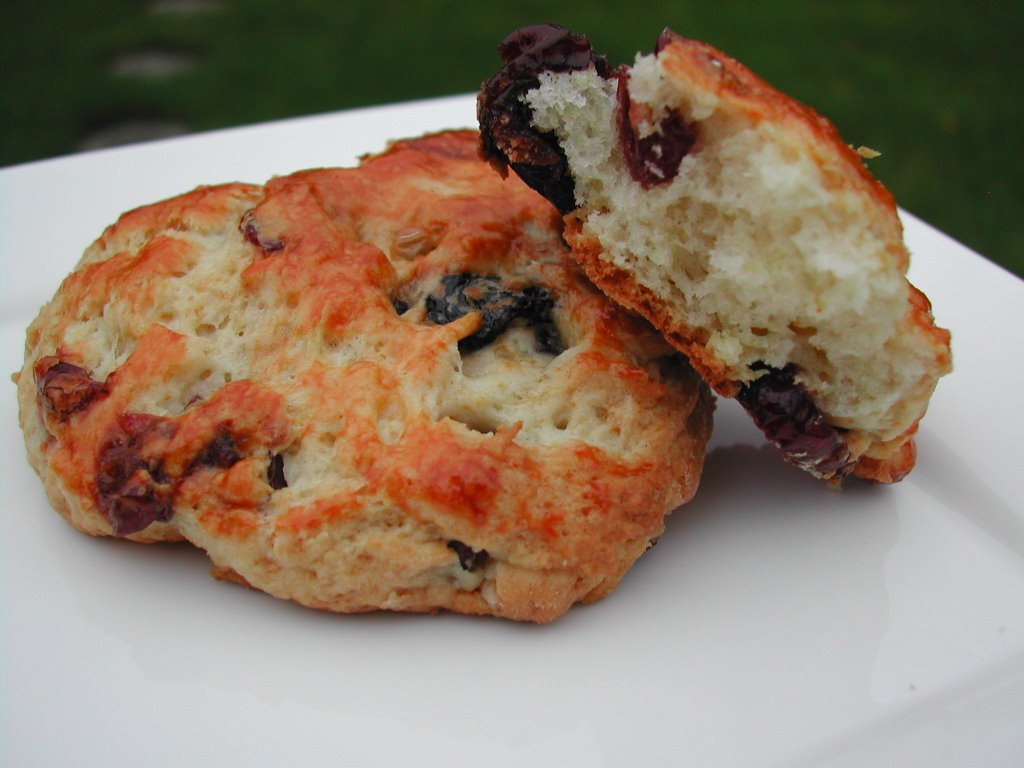 8. Enjoy whilst warm with butter or jam. Or both. Alternatively, you can do what my friend Karen does: slather it with double whipped cream.
The Dutchess of Cookalot whipped this up at 11:25 am
Eh...where's the double cream?? Lol
 : November 13, 2006 8:05 pm